Getting Ready
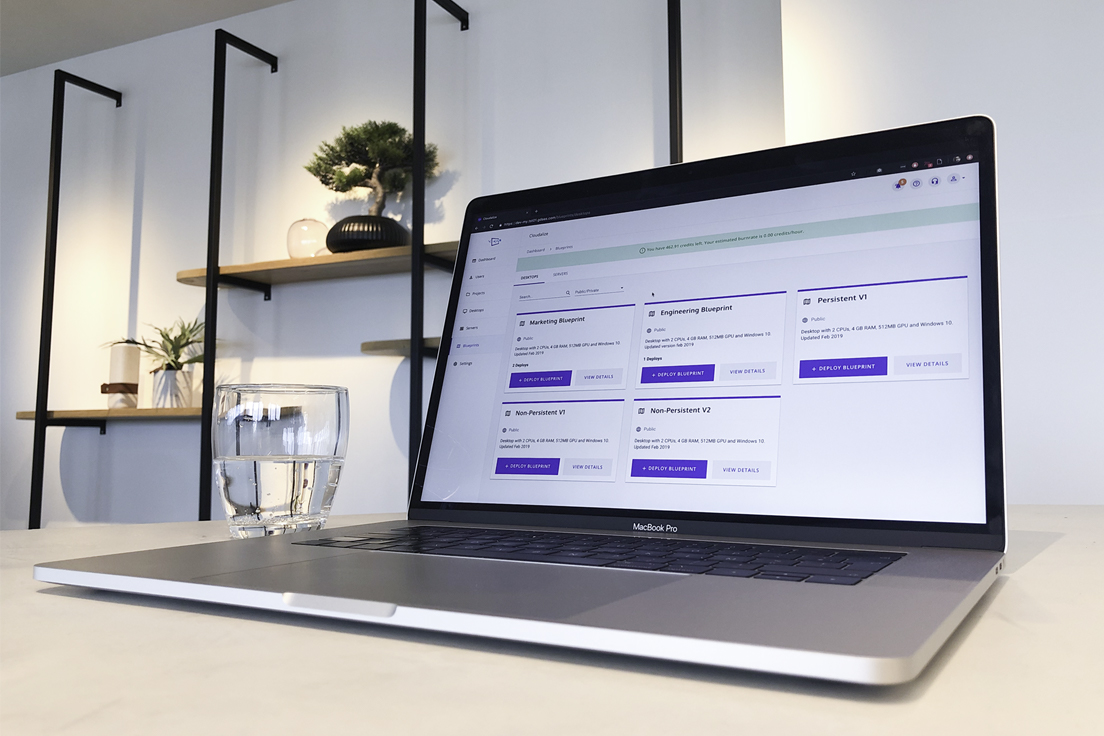
Cloudalize opens a new world on which you can create the future. Our specialised virtual and secure desktops can facilitate parametric design, generative design, computational fluid modelling and of course Building Information Modelling (BIM).
Cloudalize’s solution is a full-stack end-to-end solution which can be set up in 5 minutes by following a straightforward 5-step approach.
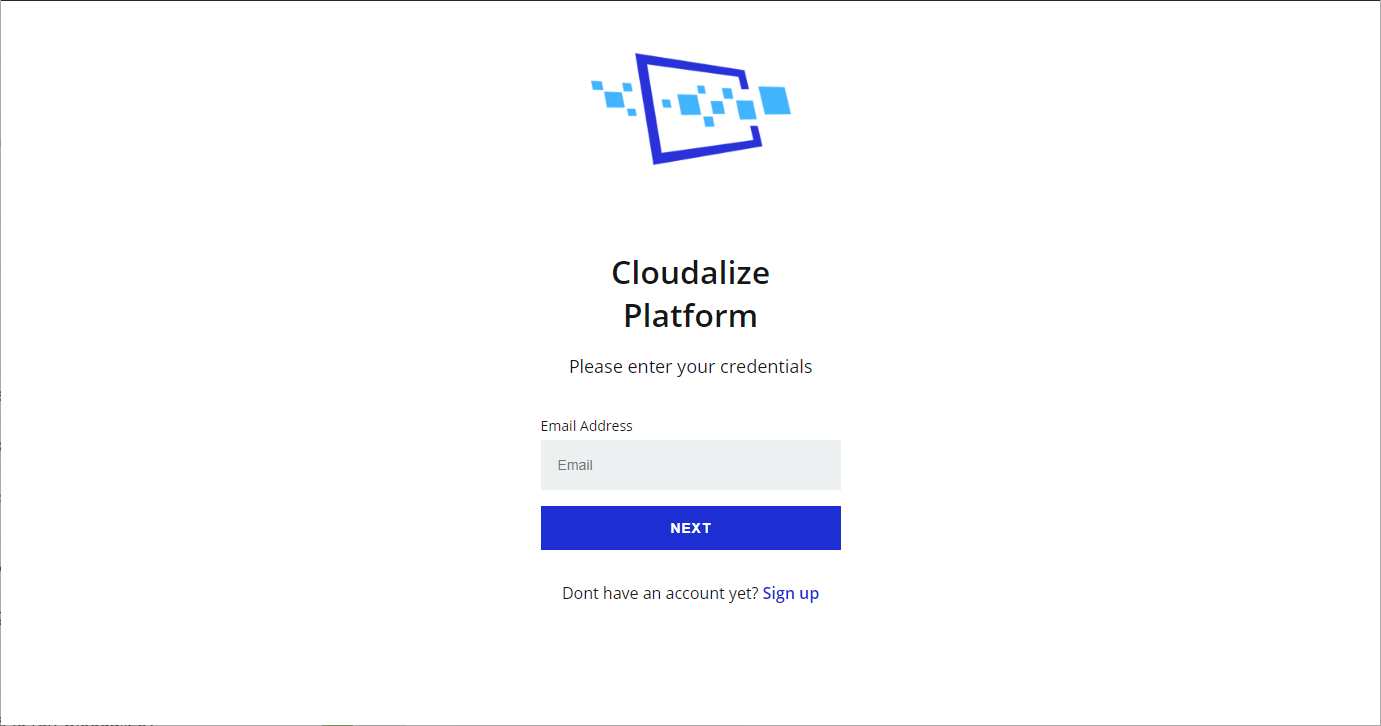
1. Login
Log in to the Cloudalize platform via Cloudalize Portal Page by entering your user name and password. Note: you must be an admin user to follow the steps below.
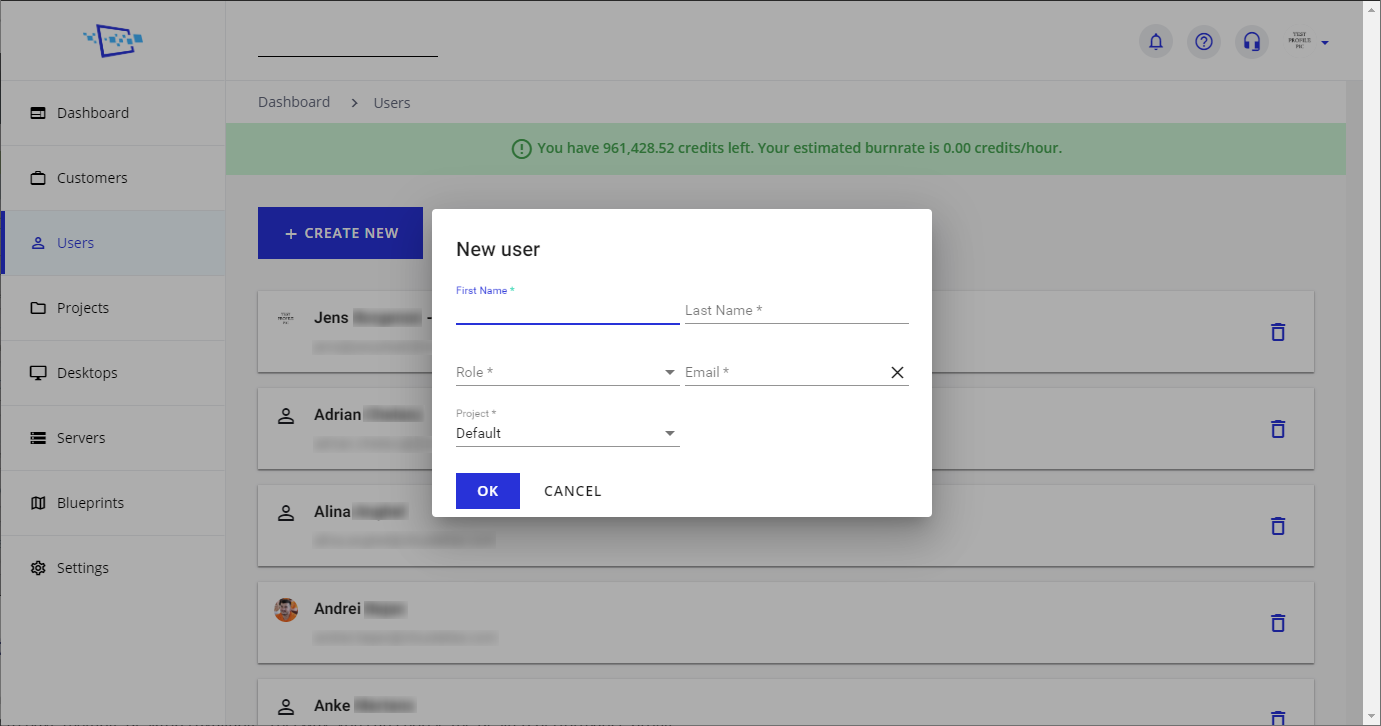
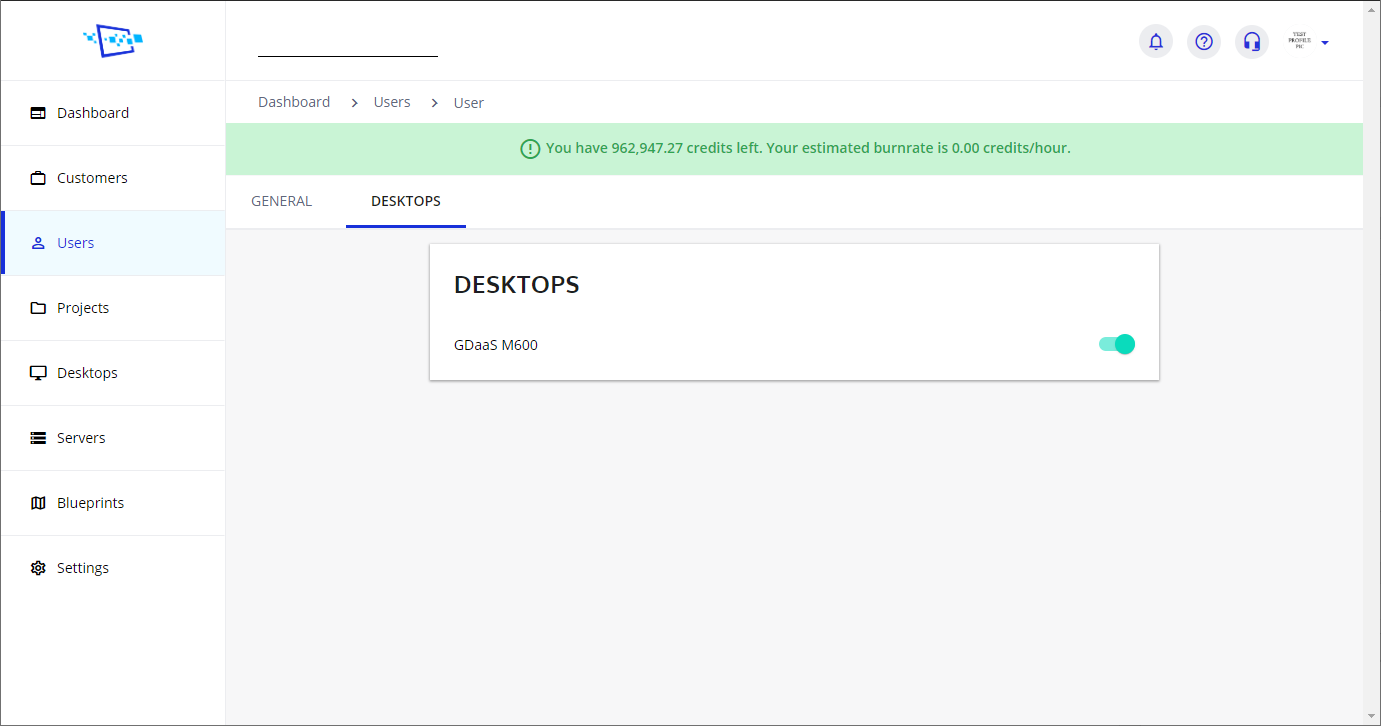
2. Create a user
Logging in opens your personalised page from where you can view all the features of the Cloudalize platform. Navigate to the left-hand side, 3rd item down, for Users.
To create a new User, you only need a name and an email address. As Admin, you have the ability to assign users to specific projects and roles if desired.
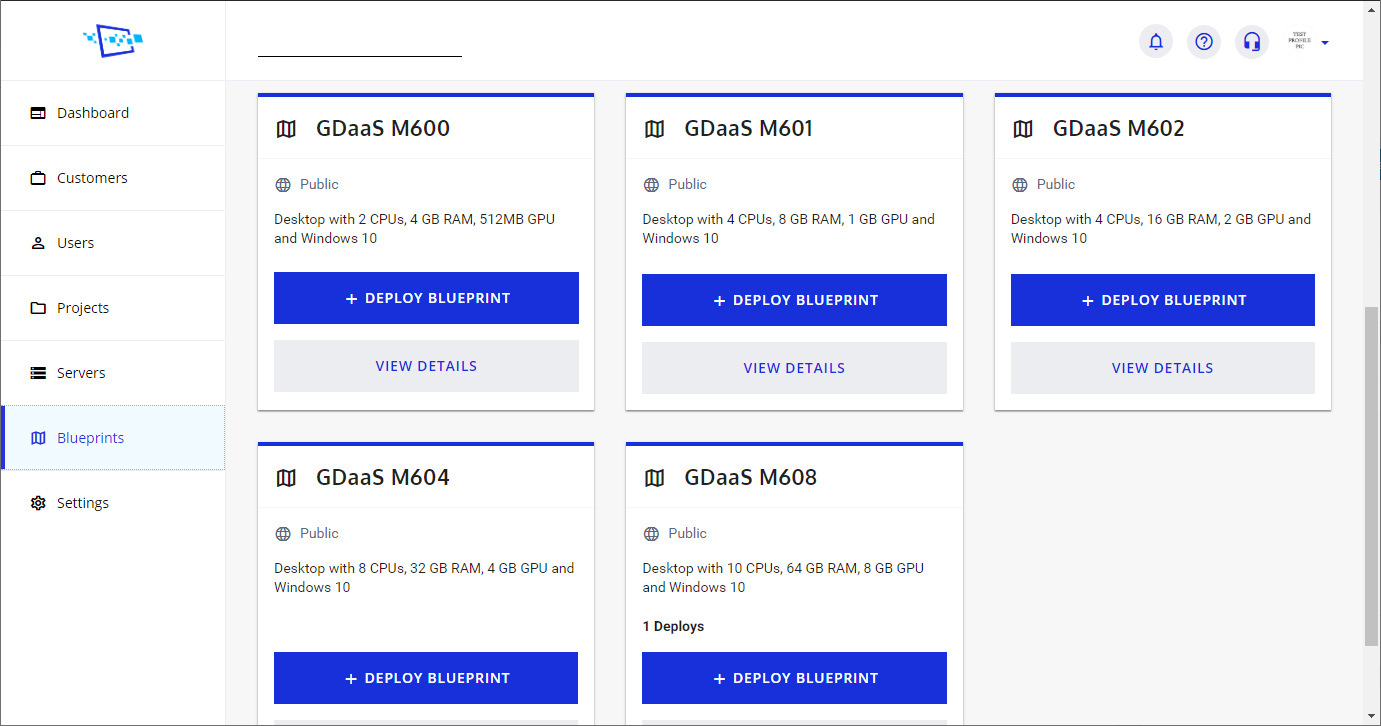
3. Deploy Blueprint
Navigate to the Blueprints tab, 6th on the left-hand side. On the Cloudalize platform, Blueprints are your power templates for allowing users to use the power of the Cloud efficiently. As Admin, you have the ability to choose the specific type of the Cloudalize virtual and secure desktops.
3. Enable Blueprint
Return to Users, select the specific user and assign them a desktop. From here, you can manage the capacity needs of your team by assigning resources to them for their specific needs.
5. Blast Off!
You are now ready to run your preferred CAD, CAE or BIM software on your Cloud desktop from Cloudalize. With no minimum purchase, you can run Autodesk’s Revit, Fusion 360 or Rhinoceros 3D and more even on MacOS! Click below to have your free demo.